|
| Latham Store |
Colonie Cafe |
It's Mums Galore at George's Market & Nursery
5" - $3.99 Ea.
9" - $7.99 Ea.
OR 5 for $35.00
|


|
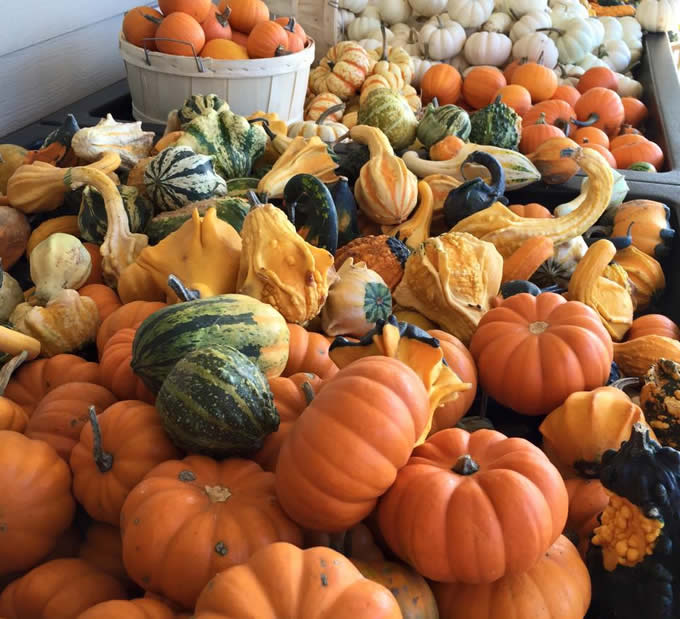
Large Selection of Pumpkins, Gourds, Minis and Munchies
|
|
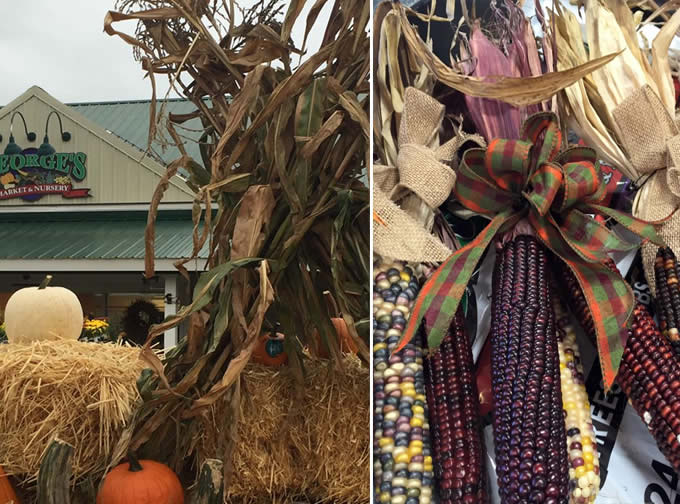
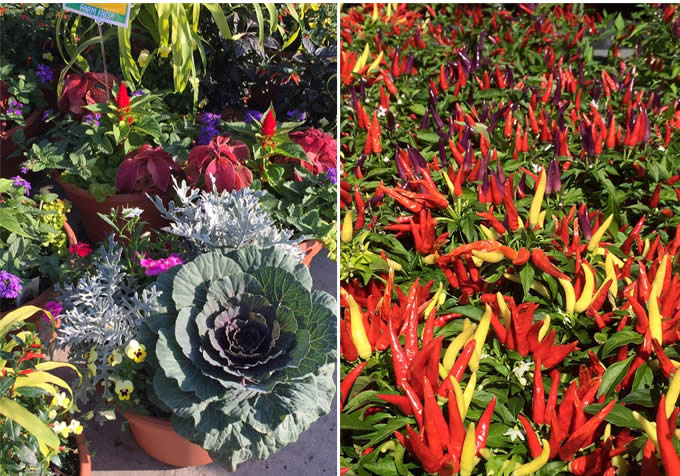
George's is the Place for all Your Fall Decorating
|
Corn Stalks, Straw, Ornamental Kale, Cabbage and Peppers
|
|
|
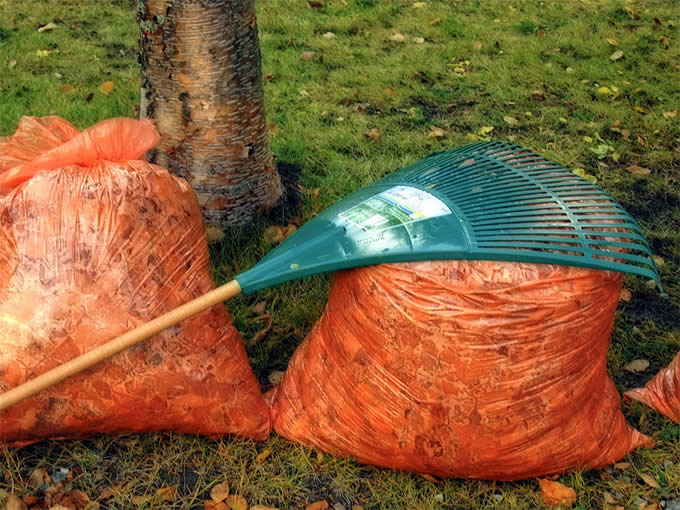
We now carry Leaf Bags
and Rakes
|
|
Fall Cleanups |
|
Call us for your fall cleanups with our Landscape Department.
Call George's at
518-785-4210 to make an appointment |
|
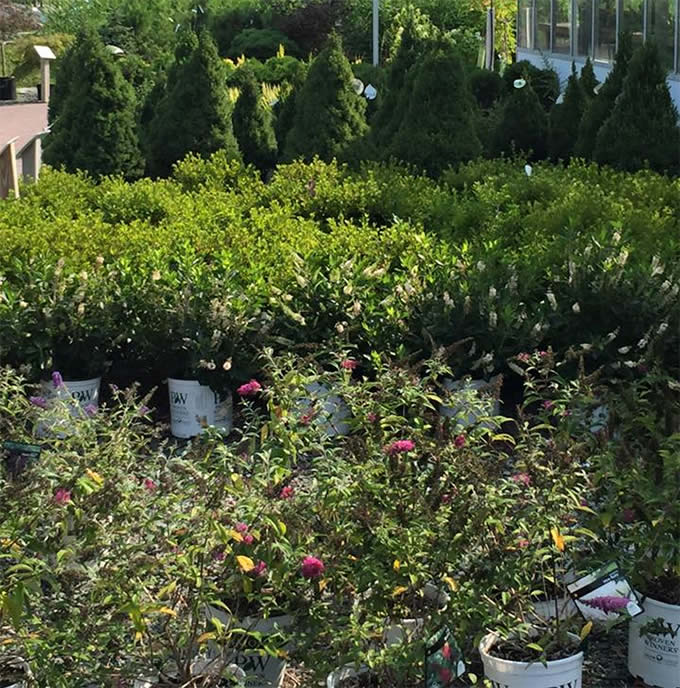
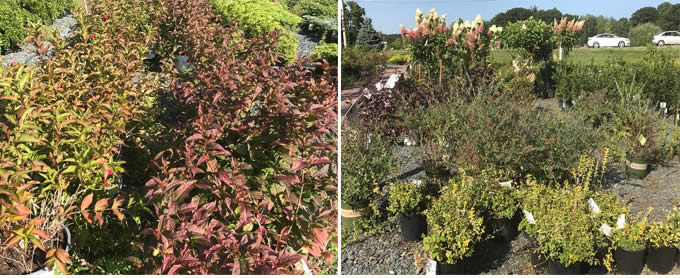
All Shrubs and Select Nursery Stock 30% OFF
|
 |
|
All Perennials
50% OFF
|
 |
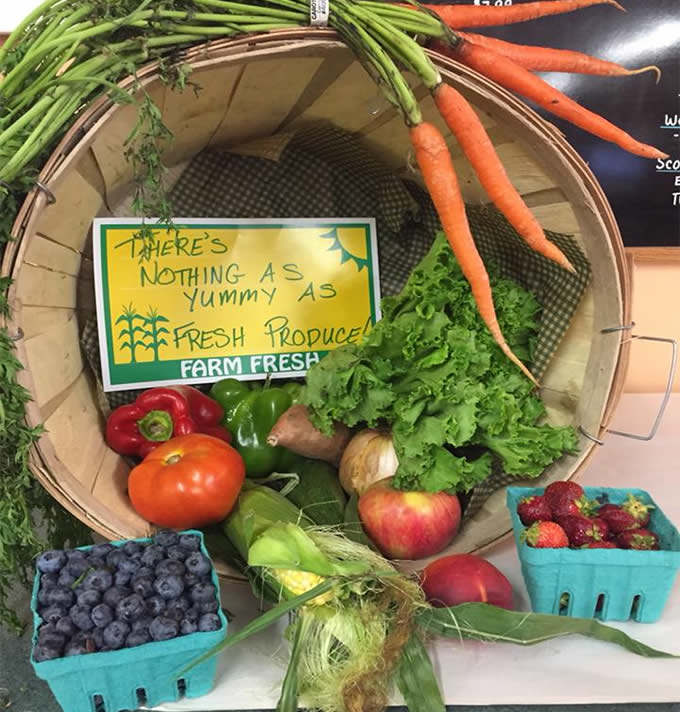
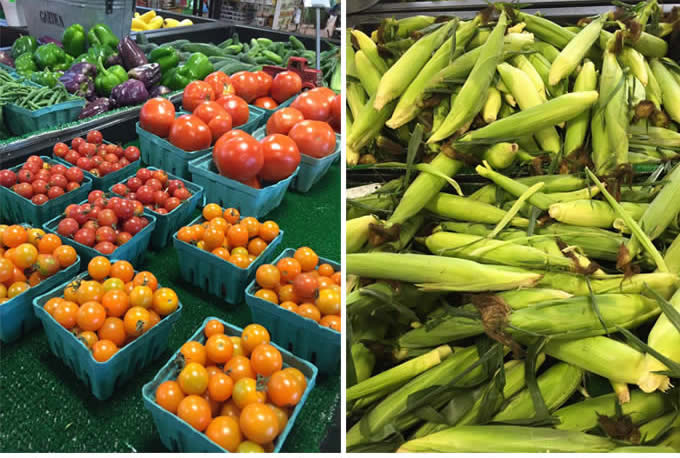
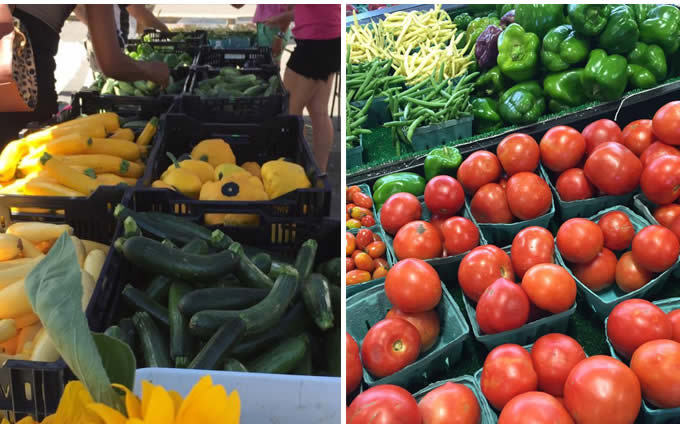
Farmers Market
|
We will be at the CDPHP Farmers Market Thursday, October 11th (11am-2pm)
and
Guilderland Farmers Market at Twenty Mall Sunday, October 28th (10am-3pm)
|
  |
Call us to order your Cider and Apple Cider Donuts for all your Halloween Parties!
(Call the Latham Store at 518 785-4210 or Colonie Cafe at 518 869-3662 to place an order)
|
 |

|
Get your order in for your favorite Pies... Thanksgiving is right around the corner.
(Call the Latham Store at 518 785-4210 or Colonie Cafe at 518 869-3662 to place an order)
|

|
Click to RSVP |

|
Click to RSVP
|

|
If your lawn is thin or full of weeds it is time to reseed. Spring or fall is the best time of the year to renovate your lawn. There is usually plenty of rain and the temperatures are cool which is ideal for grass seed to germinate and establish.
Step 1- Test the pH of Your Soil
The first step to successful lawn care is to make sure the pH of your soil is in the correct range for optimum growth. Soil in our area is often too acidic. This causes nutrients to get trapped in the soil and cannot be used by the grass plants. Applying lime helps to release these nutrients so the grass can easily extract them from the soil. The best range is a 6.5 to 7 on the pH scale. Adding lime is often the first step.
Step 2- Remove Weeds
All weeds in your lawn should be removed before you reseed. Do this by pulling them out by hand. If there are too many weeds in your lawn then consider spraying a safe and effective lawn weed control we have some in the store. This weed control does not harm your established grass and is highly effective in cool weather. You can reseed shortly after the application. Always refer to the application rates on the bottle of weed control.
Step 3- Thatch & Remove Leaves and Debris
Thatch is a layered mass of dead grass blades and roots which accumulate between your actively growing turf and the soil. This layer can restrict the movement of air, water and fertilizer to the roots of the grass plant.
This layer will also inhibit good seed germination because new grass seed needs to be in contact with the soil to germinate. Remove thatch by using a specialized thatch rake or rent a gas powered thatcher.
These tools will remove this layer and expose the soil but will not remove your established turf. Rake up this thatch and any leaves or debris and add it to your compost pile or discard in the trash.
Step 4- Mow Your Lawn Short
Mow your lawn very short prior to applying your seed. This will make it easier for the seed to make contact with the soil. It will also make the final step of top dressing more effective.
This cut will also help remove any small debris that you were unable to rake up after thatching
Step 5- Aerate Your Lawn
Oxygen in the root zone is just as important as water for your lawn. Compaction of the soil eliminates air pockets of oxygen and results in shallow rooted plants that are more susceptible to drought, weeds and insects.
Compaction will happen over time due to lawn mowing, foot traffic, pets and heavy snow. Use lawn aerator shoes while you cut the grass or rent a lawn core aerator to correct this problem.
Step 6- Apply a Seed Starting Fertilizer
Apply New Seeding Lawn Fertilizer which is great for root building. This will help the new grass seedlings develop a good root system as well as re-establish your existing lawn.
Always use a fertilizer spreader and follow the spreader application settings on the back of the bag. Remember that more is NOT always better when applying fertilizer.
Step 7- Seed Your Lawn
We can help you determine the type of grass seed you will need based on your light conditions, availability of moisture and amount of traffic your lawn receives.
Do not ruin all of your hard work in the previous steps with a low quality "bargain" seed. Let us help you select the best grass seed for your lawn.
To apply the seed evenly we recommend using a spreader to sow the seed as opposed to broadcasting it by hand. Don't be concerned when you notice very little seed going down on the ground.
Remember that one seed does not equal one blade of grass, each seed germinates and becomes a large clump of many grass blades. Spreader settings are on the back of all quality bags of grass seed.
Step 8- Apply a Top Dressing to Seed
Spread a thin layer of good top soil or compost over your newly reseeded lawn.
This will not only help protect the new seedlings but also helps keep them moist during the early stages of their development. Bumper Crop Soil Conditioner or Scotts Lawn Soil are perfect for this application.
The easiest way to do this is by spreading it with your hands then running a rake over the entire area to settle it below the established turf blades.
Watering
After you have completed the work it is important to water your lawn properly to keep the seedlings moist. Water frequently but do not let puddles form.
Puddles will cause seed runoff and an unevenly seeded lawn. Keep children, pets and heavy traffic off the lawn until it matures into an established turf. |
|

|
- Cut back perennials and rake area around them; leaving diseased or insect-laden foliage can cause problems next year.
- Weed all areas and dispose of them in the trash (not the compost pile) to discourage weeds in the future.
- When your annual plants have died back remove them. Add compost, manure, lime and gypsum to the bed to enrich the soil for next year.
- Edge the grass along planting beds--one less thing to do next spring!
- Plant early-spring flowering bulbs. Plant them in groupings instead of rows; not only does it look more natural, but they will be less susceptible to wind damage.
- Remove all faded flowers from plants like roses and hydrangeas, rake up all leaves and tie up the branches. This will help protect your plants from snow damage.
- Thin out about 1/3 of the oldest branches of flowering shrubs like forsythia, lilac, spiraea and potentilla to promote better bloom and a nicer shape next spring.
- Dig up tender bulbs, tubers and corms such as dahlias, canna lilies, caladium and gladiolus. It's a good idea to label them as to type, color and height to make your life easier when replanting them next spring.
Sprinkle them with a rose and flower garden dust to discourage insects. Store them where they will not freeze in paper bags or boxes.
- Collect leaves to shred and add to the compost pile (if you don't already have a pile, now is a great time to start one).
- Clean up all fallen fruits to reduce disease and pest problems.
- Work weed-free steer manure or compost into asparagus beds.
- Dig up geraniums and bring them indoors for the winter.
- Clean birdbaths, fountains and clay and ceramic pots and move them to a protected place for the winter.
- Move any garden statuary, garden signs and other patio decorations to a protected place for the winter.
- Clean out your vegetable garden, disposing of all plants, weeds and old veggies. For a great source of organic material next spring, plant winter rye in the cleaned vegetable garden.
In April, simply cut the grass, then till the remaining grass and roots into the soil!
- Start some pots of paper white narcissus for holiday forcing. They make great hostess gifts!
- Fertilize the lawn one last time to prepare it for the upcoming winter.
- If you are decorating with pumpkins, rub a little Vicks on them--this keeps the squirrels and chipmunks from feasting on them.
- Indian corn used as fall decorations can be protected from blue jays by simply spraying with shellac or hair spray.
- Drain hoses of water, coil them and tie them together to prevent them from being filled with ice.
|
|
 |
Have a bumper crop of pumpkins? Once you've made your quota of pumpkin pies and carved all your jack-o-lanterns, continue to make use of those colorful gourds to decorate your house, deck and patio for fall.
Pumpkin Cachepot:
Create a festive container for fall-blooming plants such as chrysanthemums or ornamental kale and cabbage, following these simple steps:
- Select a pumpkin large enough to hold your potted plant.
- At the stem end of the pumpkin, cut a hole large enough to insert your plant.
- Use a large scoop to remove the pulp and seeds (reserve the seeds to make a healthy treat--see below).
- Scrape the inside of the pumpkin so it is smooth and clean.
- To extend the life of your pumpkin and keep it from getting moldy, spray a mixture of one part bleach per 1 quart water inside the pumpkin and on the carved edge of the opening.
Wait about 20 minutes to allow the solution to penetrate and dry. Rub petroleum jelly on the carved edge of the opening to prevent bacteria and mold and keep it moist; wipe away any excess.
- Place a little sand in the bottom of your pumpkin to create stability for your potted plant.
- Place your potted plant in the pumpkin, adjusting it in the sand until it is the right height.
- For the longest life, place your cachepot out of direct sunlight where it will be protected from rain and freezing temperatures.
Now--what to do with those seeds? Make some delicious Sugar and Spice Pumpkin Seeds for healthy snacking or as a great salad topping:
Ingredients:
- 1 cup pumpkin seeds (1 large pumpkin should yield about 1 cup seeds)
- 1 tablespoon melted butter or vegetable oil
- 1 tablespoon sugar (or a little more, to taste)
- 1/2-1 teaspoon cinnamon
- 1/4 teaspoon nutmeg
- 1/8 teaspoon allspice
Preheat oven to 300 degrees.
Rinse seeds, removing as much of the pulp as possible; don't worry about leaving a small amount of pulp (it is impossible to remove it all).
Pat the seeds dry, then toss them with the butter, sugar and spices.
Spread the seeds in a shallow baking sheet (spray sheet with a light coating of cooking spray to prevent sticking). Bake for 45-60 minutes, turning occasionally, until lightly browned and crunchy.
This recipe may be doubled or tripled, depending on the number of seeds you have.
Click to print this article. |
|
 |
Should I use bone meal or bulb food when I plant my bulbs?
Answer:
We recommend bone meal at the time of planting, then applying a balanced bulb food once the foliage appears above the soil line in late winter/early spring.
There are a couple of reasons for this. Nitrogen can burn the actual bulb, which only needs the phosphorus and potash from bone meal in order to stimulate rooting. But once the bulb is sending out a stem, it needs nitrogen to become strong so it won't bend over from the weight of the flowers that it sets. This is especially important for bulbs with large heavy flowers, such as tulips, ranunculus, and hyacinth.
It's also important to dig the holes or trenches a little deeper than the bulb needs to be, applying some bone meal below the bulb, then a little more soil so the bulb doesn't sit directly on the food but has access to the food as it sends out roots (got to give those roots some incentive to stretch).
Click to print this article. |
|

|
Ingredients:
- Pastry for single-crust pie (9 inches)
- FILLING:
- 6 cups peeled, chopped tart apples (6 medium)
- 2 tablespoons butter or margarine, melted
- 2 tablespoons sour cream
- 4 teaspoons lemon juice
- 1/2 cup sugar
- 1 tablespoon all-purpose flour
- 1/2 teaspoon ground cinnamon
- 1/2 teaspoon ground nutmeg
- TOPPING:
- 1/2 cup all-purpose flour
- 1/2 cup sugar
- 1/4 cup cold butter or margarine
Step by Step:
- Line a 9-inch pie plate with pastry; flute edges.
- In a bowl, combine the apples, butter, sour cream, lemon juice, sugar, flour, cinnamon and nutmeg.
Spoon into pastry shell.
- For topping, combine flour and sugar in a bowl; cut in butter until mixture resembles coarse crumbs.
Sprinkle over filling.
- Bake at 375 degrees F for 45-50 minutes or until the filling is bubbly and the apples are tender.
- Cool on a wire rack.
Yield: 12-15 servings
|
|
George's Market & Nursery:
240 Wade Road Extension,
Opposite Target,
Latham,
New York 12110
Open 8:00AM-6:00PM Mon.-Sat.
9AM-5pm Sunday
Call for a Free Estimate: Phone: (518) 785-4210 |
George's Market and Café:
945 Watervliet Shaker Road,
Albany, NY 12205
Open from 9:00AM - 5:00 PM
Colonie Cafe (Open for lunch 5 days a week)
Call to place an order: (518) 869-3662 |
|
| |
